Introduction
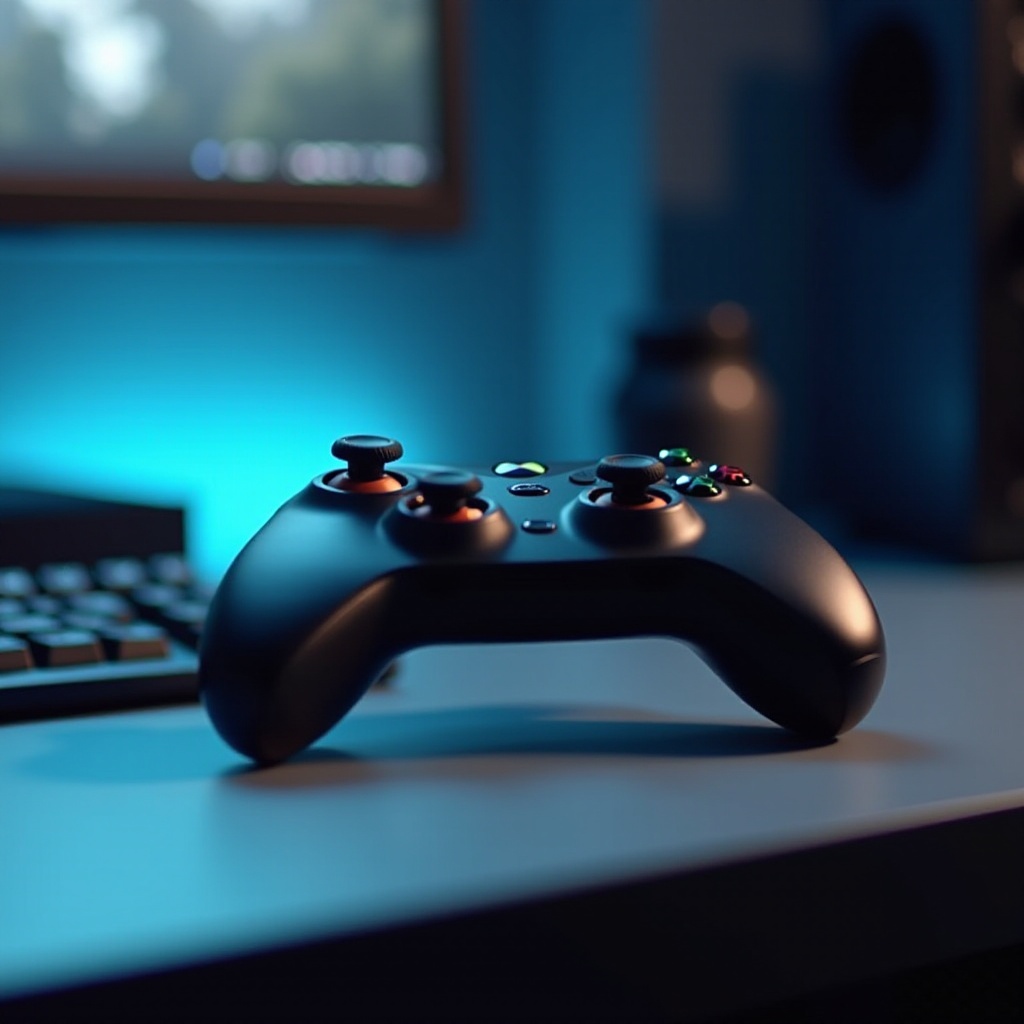
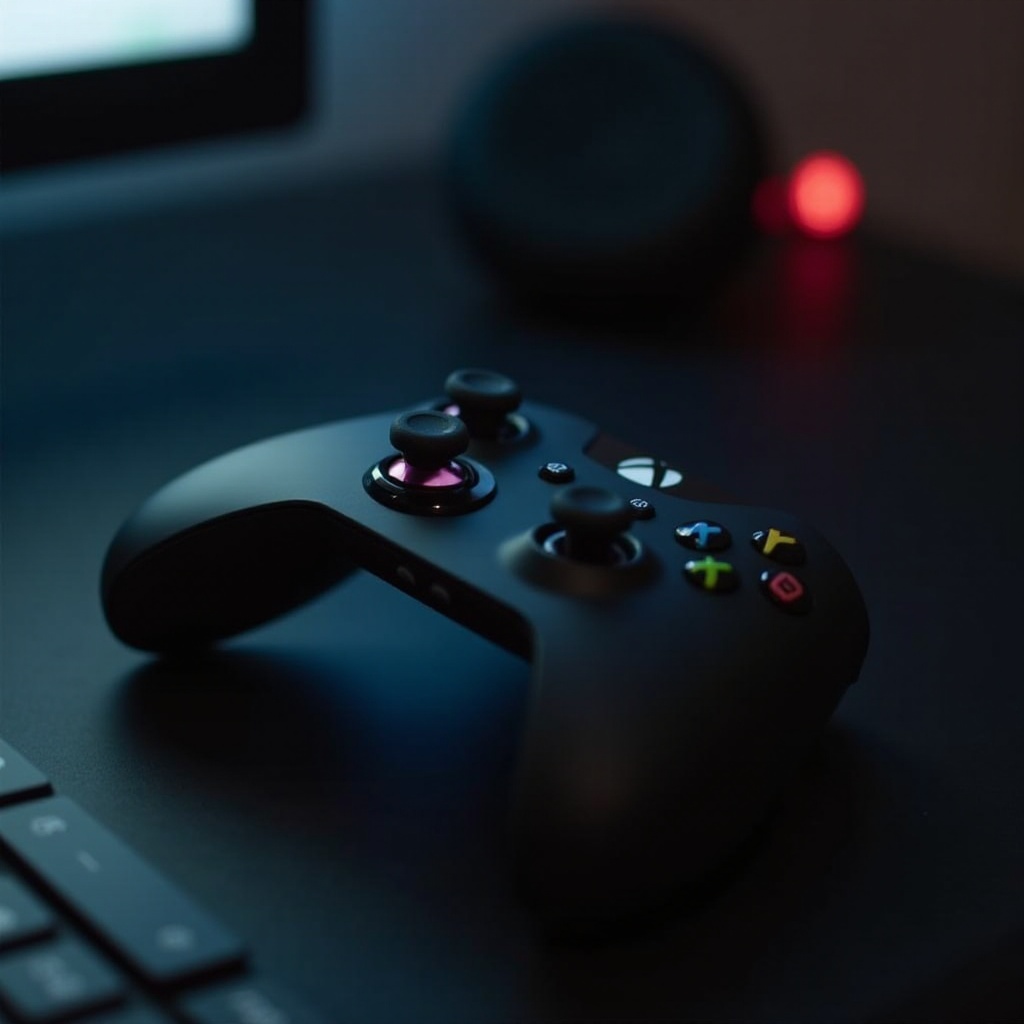
Achieving precision in gaming can elevate your experience significantly, especially with an Xbox One controller in hand. Precise control is essential for optimal gameplay, which is why ensuring your controller is correctly calibrated is vital. Proper calibration eliminates lag and enhances responsiveness, creating a seamless gaming environment. In this guide, we’ll walk you through the precise steps needed to calibrate your Xbox One controller, ensuring your gaming adventures remain uninterrupted and enjoyable.
Understanding Xbox One Controller Calibration
Calibration plays a crucial role in aligning your Xbox One controller’s sensor data to the expected performance standards. For gamers, particularly those competing at higher levels, accuracy is non-negotiable. Without calibration, issues like joystick drift, button lag, or sensitivity inconsistencies can hinder your gaming prowess. Recognizing these challenges highlights why regular and effective calibration of your controller is not only beneficial but necessary.
Preparing for Calibration
Before embarking on the calibration journey, it’s crucial to prepare adequately. This means having the right tools and ensuring your software is current. Here’s a quick checklist to get you started:
- Required Tools and Software:
- A Windows 10 PC with up-to-date software.
- The Xbox Accessories app downloaded and installed.
-
A reliable USB cable or a Bluetooth connection for pairing your controller to the PC.
-
Updating Your Controller Software:
- Power on your Xbox One console and go to Settings.
- Navigate to ‘Devices & accessories’ and choose your controller.
- If prompted, select ‘Update’ to ensure your controller’s firmware is current.
These preparation steps will ensure that your controller is ready for the calibration process and compatible with the necessary software.
Step-by-Step Calibration Guide
With everything set, you can begin the calibration process. Follow these detailed steps:
- Connecting Your Controller:
- Attach your Xbox One controller to your Windows 10 PC using either a USB cable or via Bluetooth.
-
Launch the Xbox Accessories app.
-
Using the Xbox Accessories App:
- Once your controller appears in the app, click on ‘Configure’.
-
Choose an existing profile or create a new one for customized settings.
-
Completing the Calibration Process:
- Select ‘Calibrate’ from the settings menu.
- Adhere to the on-screen prompts, which will direct you through joystick movements and button presses necessary for calibration completion.
- Save the newly calibrated settings to your chosen profile.
Executing these steps will fine-tune your controller, aligning it perfectly with your gaming requirements and preferences.
Troubleshooting Common Calibration Issues
Even with thorough calibration, issues may sometimes surface. Here’s how to tackle common calibration problems:
- Controller Recognition Problems:
- Ensure your controller is securely connected, trying a different USB port if necessary.
-
Restart your PC and confirm the Xbox Accessories app is updated.
-
Calibration Doesn’t Fix Issues:
- Re-attempt the calibration using the Xbox Accessories app.
- Consider resetting your controller settings to factory defaults before re-calibrating.
Addressing these problems is vital to maintain a smooth gaming experience and ensure your controller’s performance remains top-notch.

Post-Calibration Adjustments and Maintenance
After successful calibration, there’s still room for further adjustments and maintaining your controller’s condition.
- Adjusting Sensitivity and Preferences:
- Modify the analog stick sensitivity and button configurations to align with your gaming preferences.
-
Store these customizations within various profiles for different games.
-
Maintaining Your Controller’s Condition:
- Clean your controller regularly using a soft cloth to remove any dust or debris.
- Store it in a safe, dry place when not in use to avoid potential damage.
These practices will prolong the lifespan of your controller, ensuring it continues to perform at an optimal level.
Conclusion
Calibrating your Xbox One controller is a simple yet effective way to ensure peak performance and enhanced gaming precision. By following the outlined steps in this guide, you can guarantee that your gaming experiences remain enjoyable without the frustration of technical interruptions. Regular calibration will maintain your controller’s responsiveness, offering you the edge you need in competitive gaming.
Frequently Asked Questions
How often should I calibrate my Xbox One controller?
Regularly check and calibrate every few months, especially with frequent use, to ensure optimal performance.
Can I calibrate my Xbox One controller on a Mac?
Currently, the Xbox Accessories app required for calibration is only available on Windows. Using a PC is necessary.
What should I do if my controller doesn’t stay calibrated?
Try recalibrating and reset to factory defaults if needed. Persistent problems may require checking for hardware issues.