Introduction
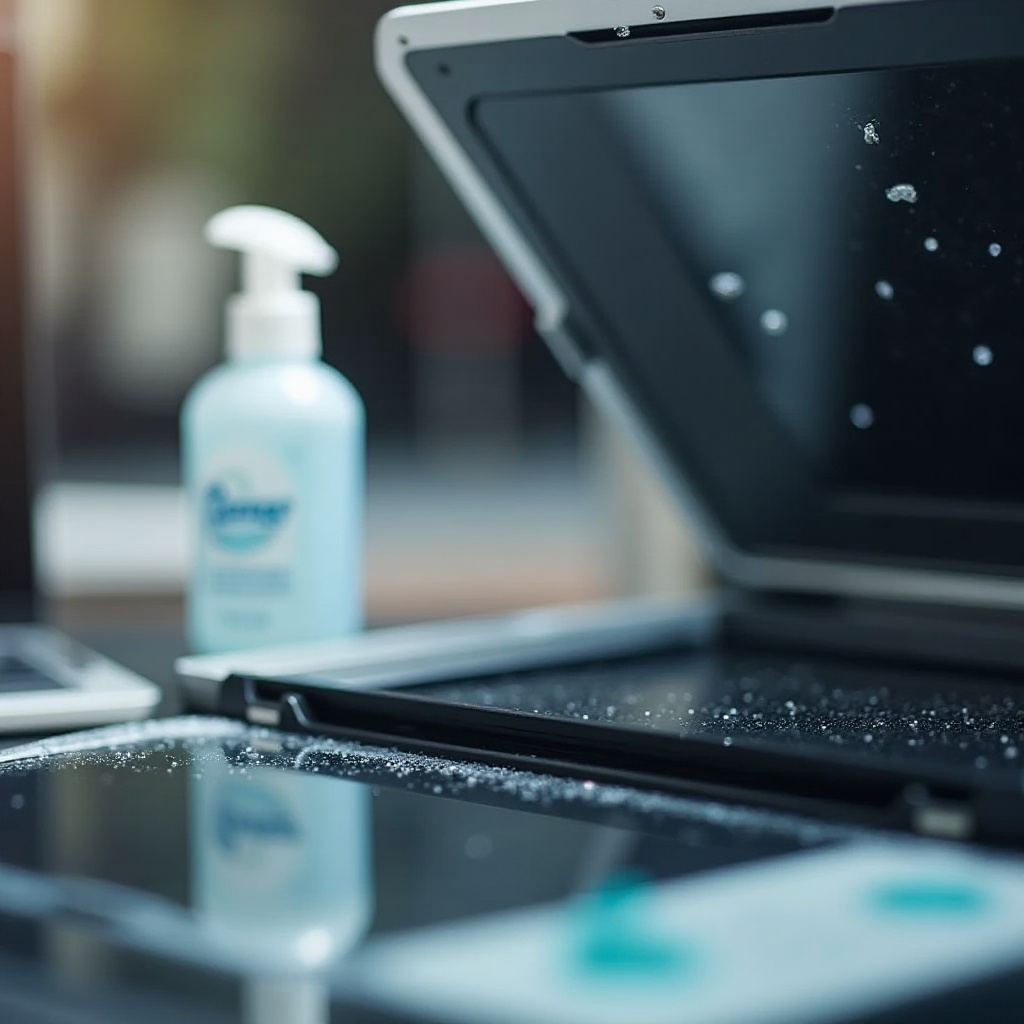
Keeping scanners efficient and reliable requires regular maintenance. Dust and debris accumulate over time, causing diminished performance, such as blurry scans or even mechanical failures. Enter F1 cleaner—a specialized solution created to effectively clean and maintain scanners. This comprehensive guide will walk you through the best practices for using F1 cleaner, so your scanner stays in top condition.

Understanding F1 Cleaner for Scanners
F1 cleaner is a tailored formula created to clean scanners without harming sensitive components. Compared to general cleaners, it’s uniquely effective in maintaining scanner health.
Composition and Safety of F1 Cleaner:
F1 cleaner is made with mild solvents that break down impurities without damaging delicate glass and components. Always adhere to usage guidelines for safe handling.
Benefits of Using F1 Cleaner on Scanners:
Using F1 cleaner regularly ensures clear scans by removing dust, preventing feed errors, and extending your device’s lifespan. This cleaner is a vital part of scanner maintenance, preserving function and quality.
Signs Your Scanner Needs Cleaning
Recognizing when to clean your scanner is crucial to keeping it running smoothly. Various performance issues can signal the need for maintenance.
Common Performance Issues:
If scans are blurry or streaky, or if there are unexpected paper jams, your scanner likely needs cleaning.
Visible Indicators of Dirt Accumulation:
Marks or spots showing up on scans indicate that your scanner’s glass or rollers could be dirty and require cleaning.

Step-by-Step Guide to Cleaning Scanners with F1 Cleaner
After identifying the need for cleaning, use F1 cleaner to maintain your scanner’s performance effectively.
Preparation and Tools Required:
- Gather F1 cleaner, a microfiber cloth, and lint-free wipes.
- Turn off and unplug the scanner for safety.
- Ensure a well-lit, spacious work area.
Cleaning Process: A Detailed Overview:
- Open the scanner following the manual; apply F1 cleaner to a microfiber cloth.
- Gently wipe the glass using circular motions.
- Carefully clean rollers, ensuring dust removal.
- Wipe surfaces dry with a lint-free cloth to ensure no residue.
Important Dos and Don’ts During Cleaning:
- Do use circular motions for even cleaning.
- Don’t apply cleaner directly to parts.
- Do check scanner compatibility for cleaning.
Enhancing Scanner Performance with Regular Maintenance
Beyond removing dust and grime, regular maintenance with F1 cleaner prevents long-term damage and operational hiccups.
Creating a Regular Cleaning Schedule:
Establish a routine based on usage. Clean monthly for heavy use, or every two to three months for moderate use.
Additional Maintenance Tips for Longevity:
Cover your scanner when not in use to prevent dust build-up and ensure software updates to maintain peak functionality.

Common Mistakes to Avoid with F1 Cleaner
Even with a specialized cleaner, incorrect use can lead to complications. Here are common mistakes to avoid.
Incorrect Usage and Handling:
- Avoid over-saturating cloths to prevent residue.
- Ensure no solution is left behind to avert buildup.
Troubleshooting Issues After Cleaning:
If streaks persist, use a dry cloth for wiping. Continued issues might indicate deeper maintenance needs.
Conclusion
F1 cleaner is essential for maintaining your scanner’s health, enhancing performance, and extending its life. Regular cleaning using this specialized product ensures your scanner remains efficient and reliable.
Frequently Asked Questions
How often should I use F1 Cleaner on my scanner?
It depends on usage, but typically once every two to three months is recommended for moderate use.
Is F1 Cleaner safe for all types of scanners?
Yes, F1 cleaner is formulated to be safe for all scanner types, but always check your scanner’s manual for specific care instructions.
What should I do if my scanner malfunctions after cleaning?
Ensure all parts are dry and reassembled correctly. If issues persist, consult the scanner’s manual or professional support.
